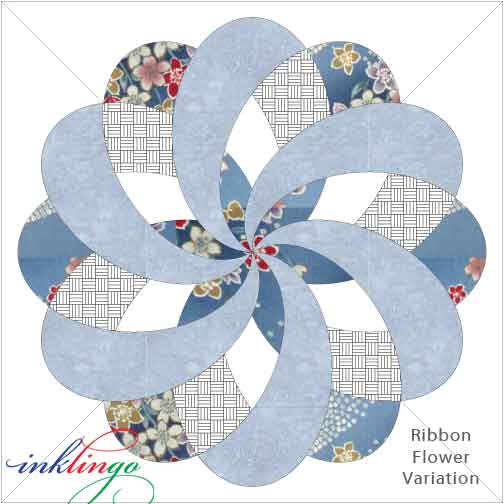
No matter what variation of Ribbon Flower you choose, 12 pieces come together in the middle.
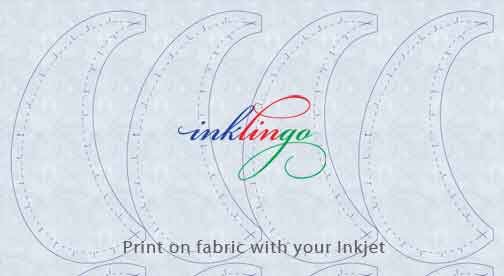
When the shapes are printed on fabric . . .
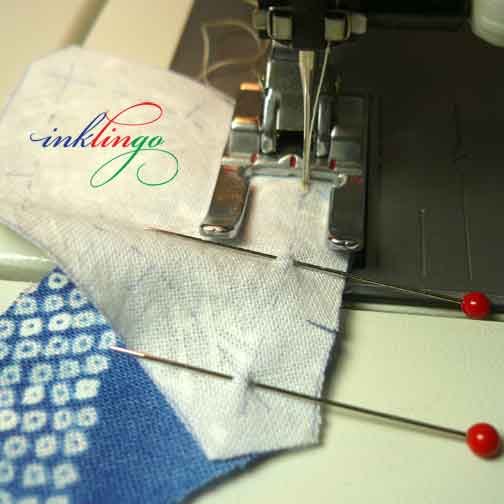
. . . . some of the seams can be chain pieced by machine.
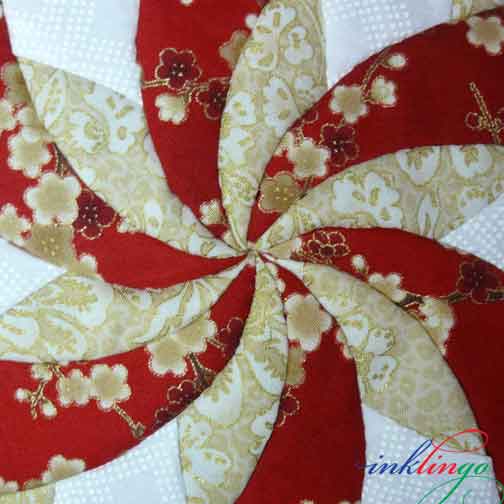
However, I like to assemble the 12 Ribbon Flower blades by hand to get the best results.
TIP # 1 Hand piecing allows you to have control over the center intersection where 12 seams come together.
TIP # 2 This video shows how I “circle the intersection” by hand, passing the needle through each pair of seam allowances in the crosshairs, before backstitching and sewing the next section of the seam.
The example in the video is a 6-pointed star but the same technique works for the 12 curvy blades of Ribbon Flower.
TIP # 3 Avoid thick fabric for shapes A and B. The center is going to be bulky enough!
TIP # 4 When you join the blades, sew on the line near the center of the block instead of sewing just beside the line, the way we usually do.
.
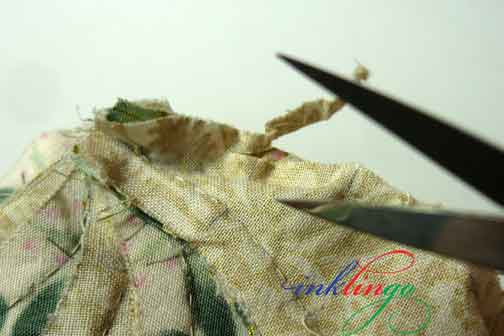
TIP # 5 Trim 1/8 inch from one of the seam allowances in each pair of seam allowances to reduce the bulk at the center, as described in the instructions.
.
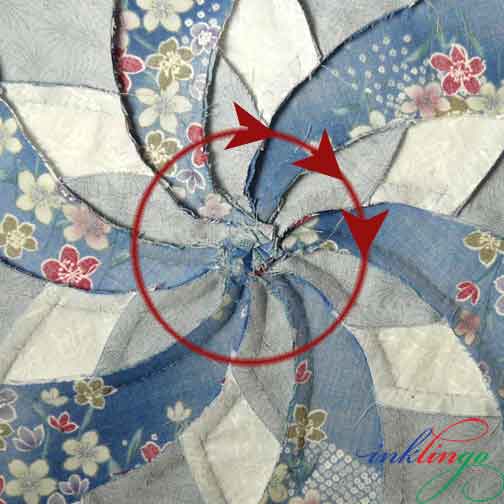
TIP # 6 Press all the seams around the center intersection, as described in the instructions in the shape collection.
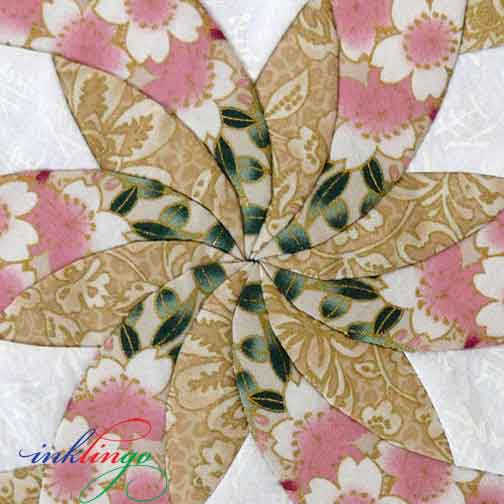
Intersections don’t have to be absolutely perfect to be fabulous.
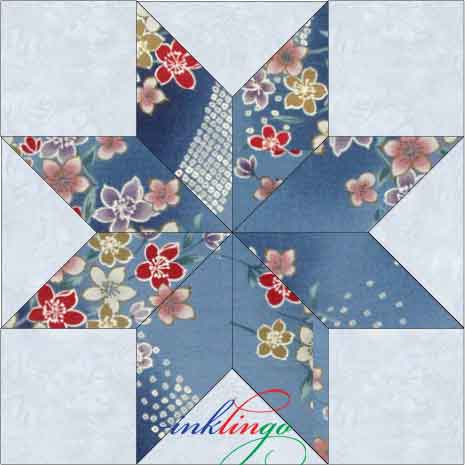
These tips apply any time 4, 6, 8, 12 or more seams converge in one intersection. It is something I teach in my Quilted Diamonds books (2002, 2004).
If you browse through the Inklingo Smart Shopper’s Idea Book, you will see that there are many other Inklingo designs where many seams come together like this, including Key West Beauty, Castle Wall, Stars of all kinds, Orange Peel, Storm At Sea, Cleopatra’s Fan and many others.
The good news is that you can practice this technique with the FREE Diamond Triangle Square shape collection.
Main Beginner’s Page – Order, download and start printing and sewing in the next few minutes.
Just in case you missed it:
- Ribbon Flower Quilts – Part 1
- Ribbon Flower Quilts – Part 2
- Ribbon Flower Quilts – Part 3
- Ribbon Flower Quilts – Part 4
- Ribbon Flower Quilts – Part 6 – Coming Soon!
Please subscribe to get an email (top of right sidebar), if you don’t want to miss Part 6.
Summer is here and I will be outside, either gardening (aka weedin’ & waterin’) or sewing. I hope it is a good week for fresh air at your house too.
Thank you for visiting.
Linda & Monkey
New to Inklingo? Order and download free shapes and start sewing in the next few minutes. Main Beginner’s Page There are triangles, diamonds, and squares in the free collection—great for dozens of different blocks.
$10 Coupon! 11 Year Anniversary Special on the handbook

![[]](https://www.inklingo.com/wp-content/uploads/2011/04/inklingo-heart.png)

I haven’t used it yet, but as I follow the blog, I see Ribbon Flower in a whole new light. The whole Ribbon Flower is gorgeous; but imagine using portions of it for a border, or a corner motif. And for someone who doesn’t applique much, it can be pieced in both instances. LOVE it!
Thank you, Marcia, I’m glad you enjoyed it!
Thank you, Judy! I’m glad you are an Inklingo quilter!
This is very helpful and well explained and illustrated, as always. Thank you, Linda!
Absolutely beautiful!
Love all your hard work
Circling the intersection is one of the best things I learned from you and the Quilted Diamonds books and now I do that without a second thought wherever there’s an intersection that calls for it. It is well worth the few seconds it takes!!