This article about printing on dark fabric was originally published in April, 2010 after I was interviewed on Creative Talk Radio for Pat Sloan’s blog
Printing on Dark Fabric
Quilters often ask about printing on dark quilt fabric. It is a great question and an opportunity to describe some smart Inklingo strategies.
One of the 20 Inklingo colors will show on the wrong side of most—but not all—fabrics.
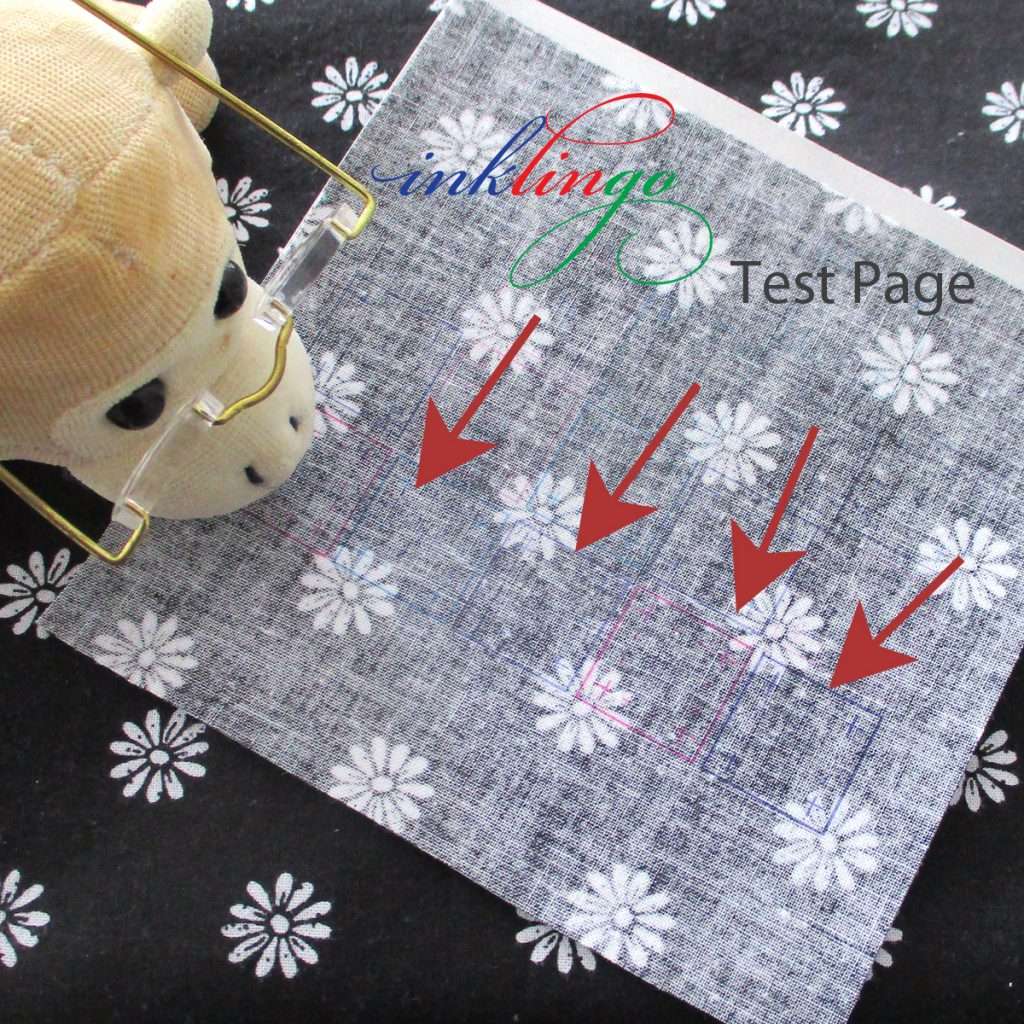
Start by Printing a Test
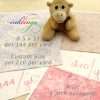
Printing a small Test Page (above) will help you decide which page/color to use on any particular fabric.
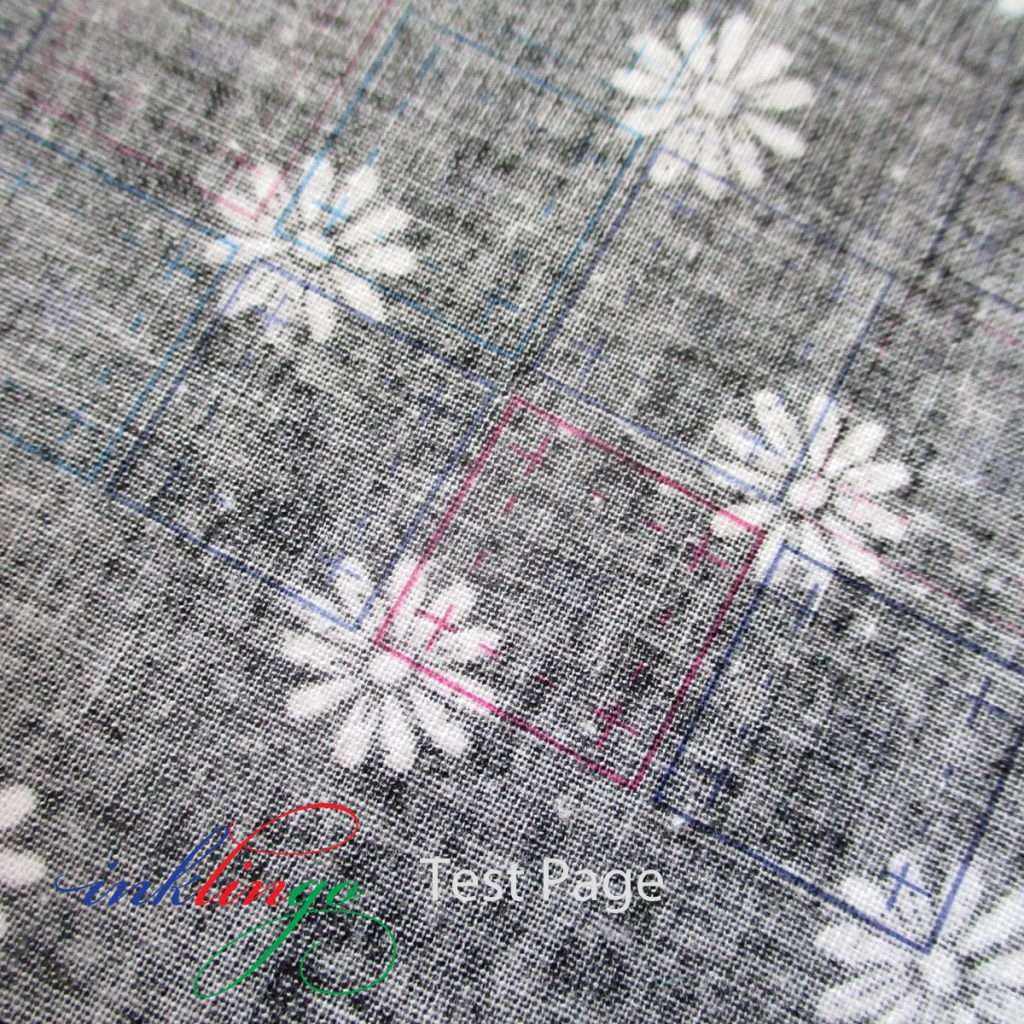
A black batik might be one of the most difficult fabrics to print, but color 05, 35, or 46 may show well enough, especially if you print with a photo setting (below).
The test procedure is one of the Top 10 Tutes and is described in the first chapter of The Inklingo Handbook, “Printing with Inklingo.” The info in that chapter is so important that I included it in the FREE Inklingo shape collection.
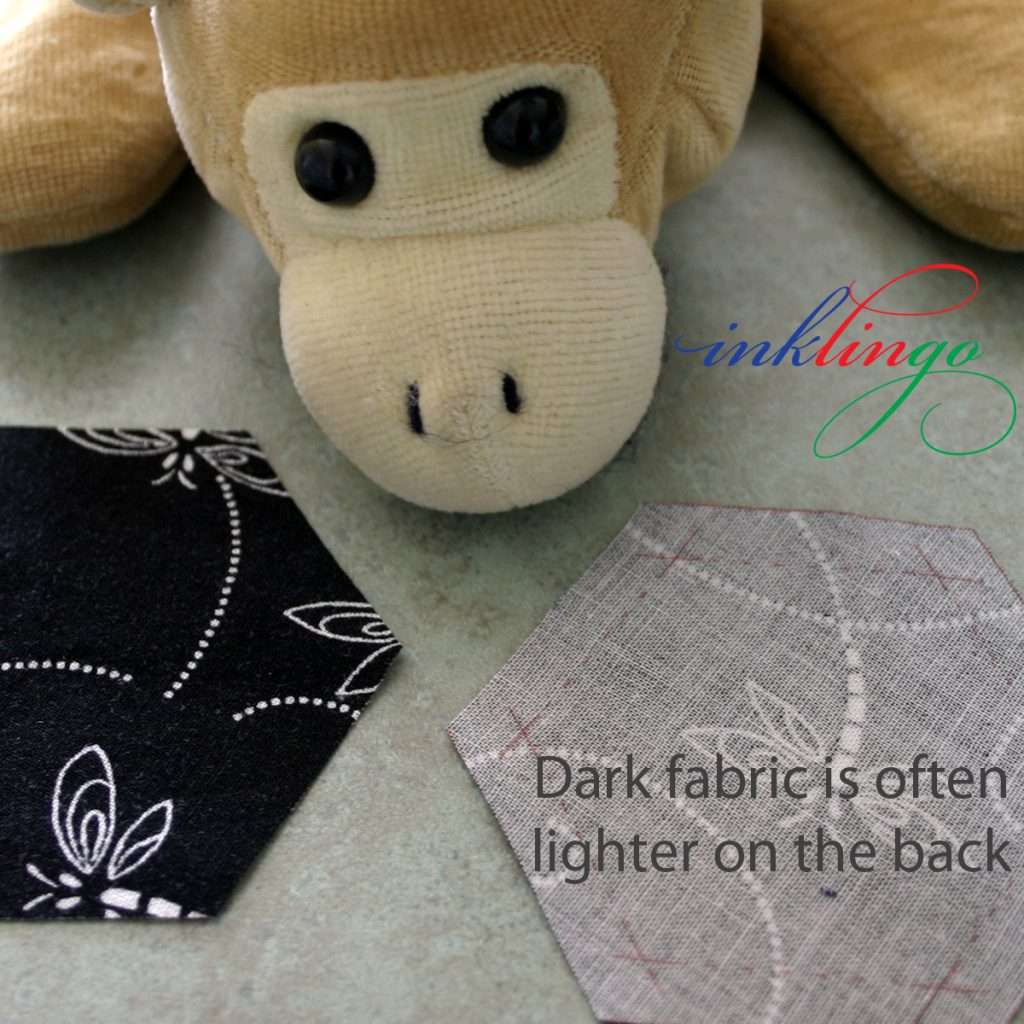
Is the Back Lighter than the Front?
Many very dark fabrics are light on the wrong side, so Inklingo ink colors show easily.
Always look at the wrong side of a dark fabric before you buy. If you have a choice among several suitable darks, choose the one that will be the easiest to print.
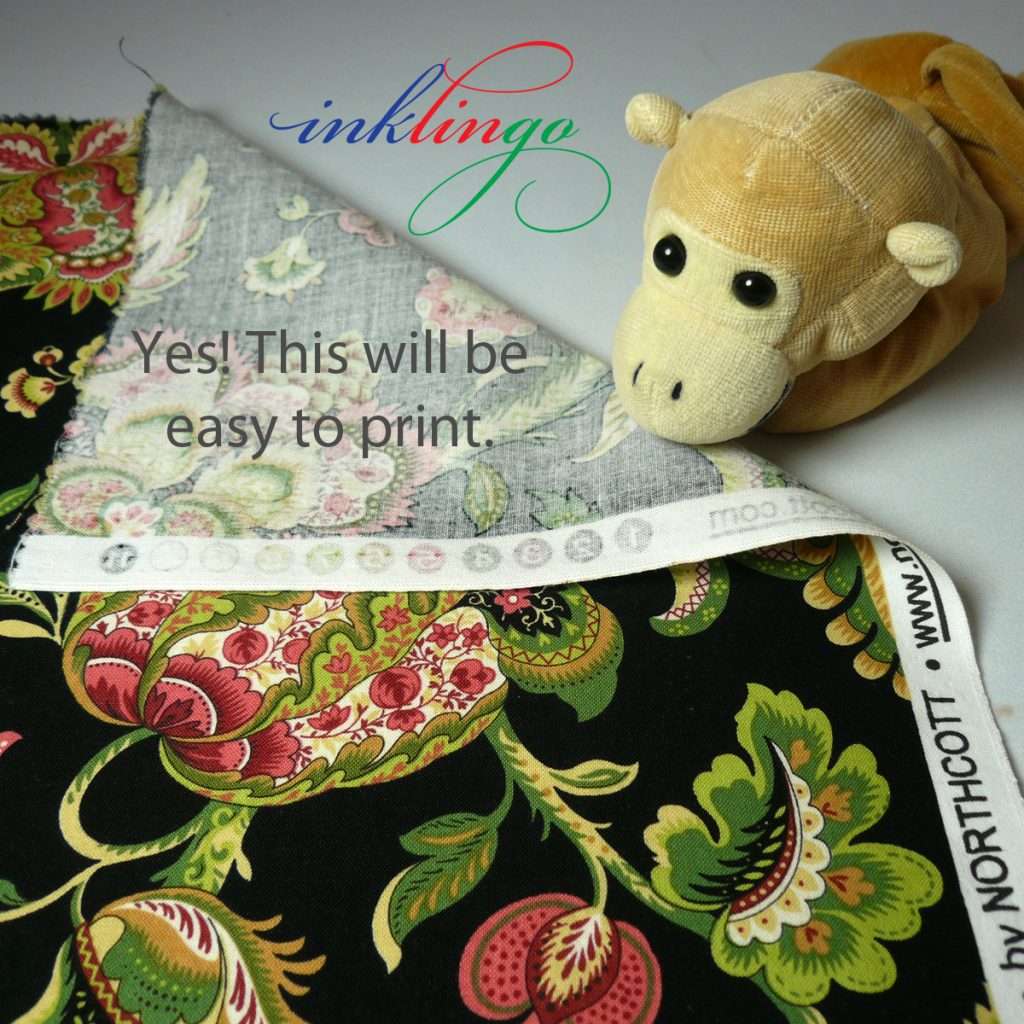
Is the Back Dark Too?
Even before Inklingo, I always checked the wrong side of a fabric to make sure it could be marked with a pencil, just in case I wanted use it for hand piecing instead of machine piecing. It is amazing how many deep, dark fabrics are light on the wrong side.
Wear Your Reading Glasses and Turn on the Lights
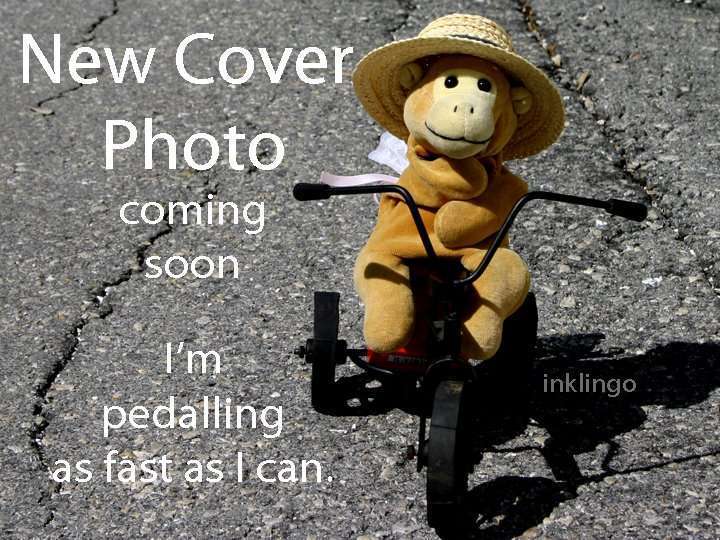
You may be able to see a faint line if you use good lighting, sew with the lighter fabric facing you, and wear reading glasses, like Monkey.
Setting in the Print Dialog Box
If an Inklingo color shows almost well enough, try printing on the “photo” or “best” setting in the print dialog box. It lays down a little more ink. (Otherwise, I prefer to use the “normal” or “everyday” setting.)
Layer to Cut
ONLY PRINT THE LIGHT FABRICS As strange as this sounds, this is a really smart way to use Inklingo. Often, you don’t need to print all of the shapes.
In many cases, only one of two or more fabrics is printed with Inklingo, especially if you are machine piecing. .
Minimal printing saves even more time!
Layer to Cut is a method which works with almost every shape collection.
There are many examples with triangles and other shapes, but one of my favs is Inklingo Double Wedding Ring. If you are sewing the arcs by machine, you don’t need stitching lines on every arc piece. Print one fabric. Choose one that is easy to print, like this yellow (not the darkest fabric).
Layer the printed sheet with 3 or more unprinted fabrics, and cut on the solid lines with a rotary cutter. No measuring. No templates. Perfect angles. Perfect curves. The printed layer of fabric is like a template—which you use in the quilt! The unprinted fabric can be as dark as you like. The unprinted fabric can even be scraps, or fabric that has already been strip pieced.
This Inklingo method is called “Layer to Cut” and it works for all kinds of shapes. It is described in The Inklingo Handbook (pages 60-61 and 70-71), using Half Rectangle Triangles (HRT) as an example.
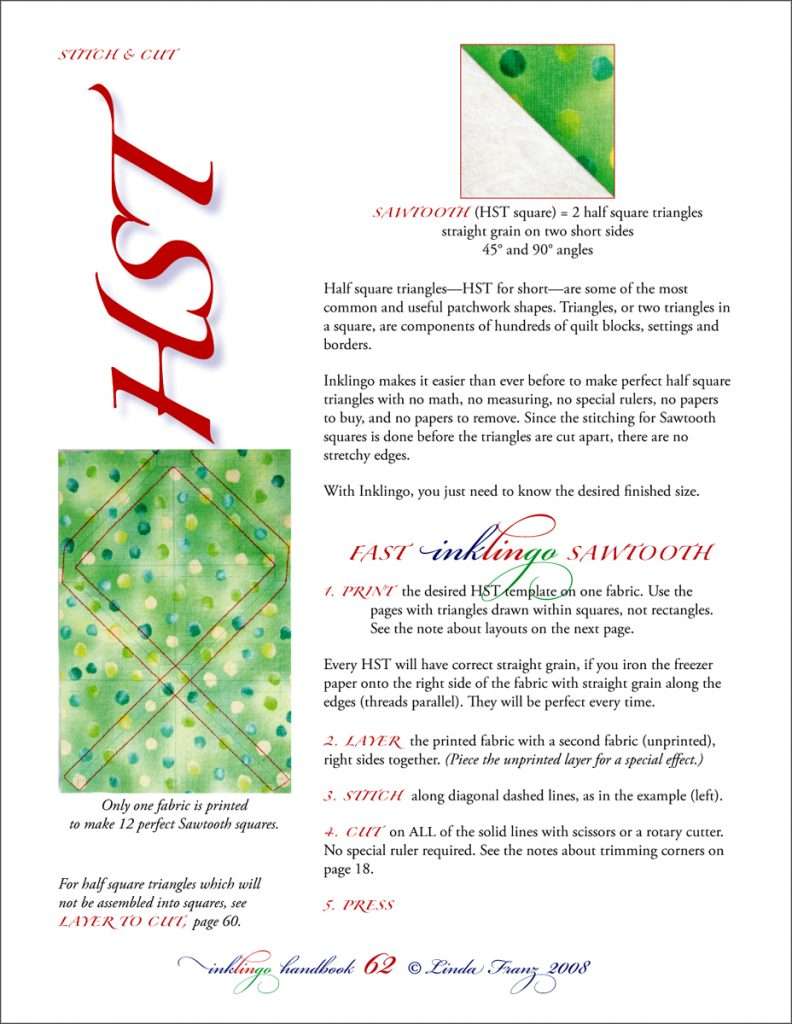
Here is another example. Only some of the triangles are printed for Half Square Triangles (HST). The second fabric can be as dark as you like, because you are not going to print it anyway.
For HST, we only print one of the two fabrics, layer the printed fabric with an unprinted fabric, and stitch on the lines before we cut the triangles apart.
This is called “Stitch and Cut” in The Inklingo Handbook and is also illustrated in the FREE Triangle Tips PDF on the web site.
Flying Geese require just one of two fabrics to be printed, so you don’t need to print the dark one. This is illustrated in an earlier blog entry too.
Mark Manually
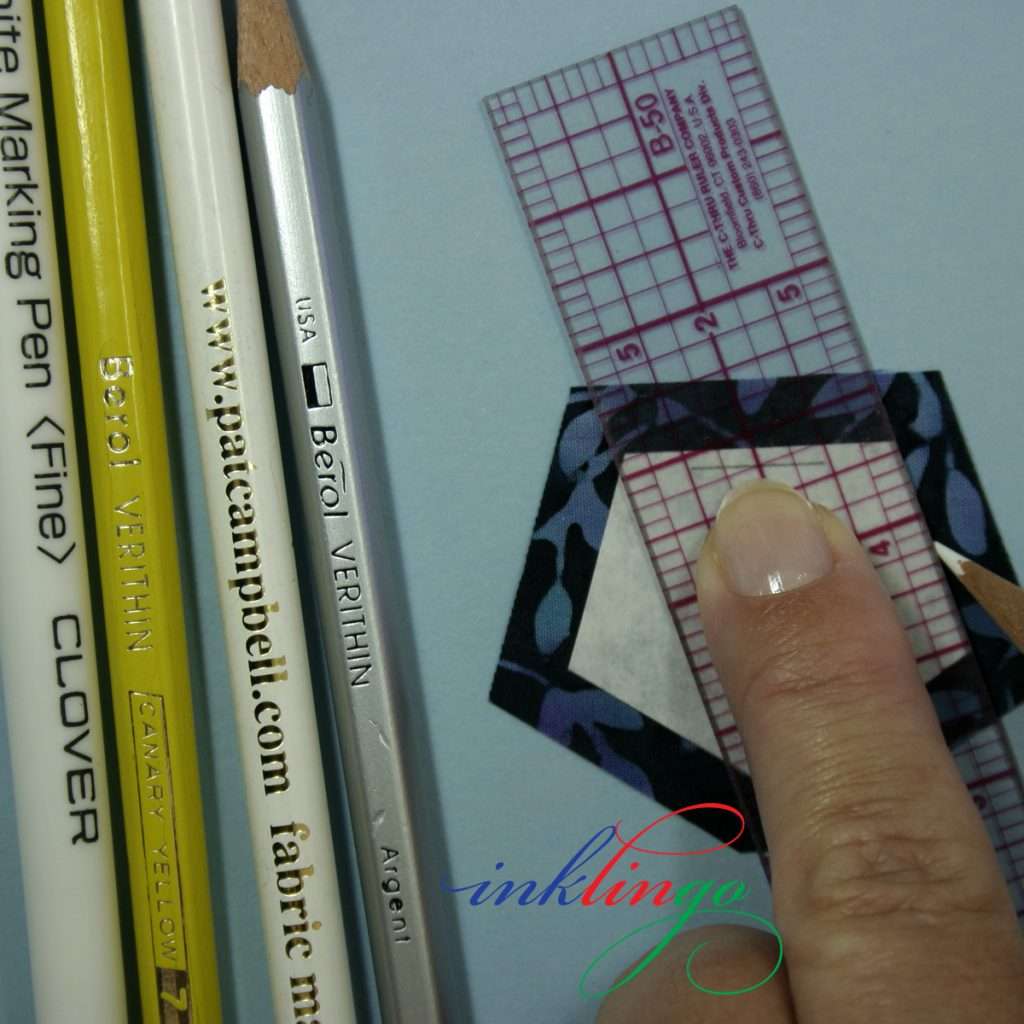
TRADITIONAL MARKERS If you require the stitching line to be marked on the dark patches (for example, for hand piecing), and none of the 20 Inklingo colors show well enough, you can print the Inklingo templates without seam allowance onto freezer paper and mark the seam lines with a white pencil or other traditional marker. If you buy wisely, this will rarely be necessary.
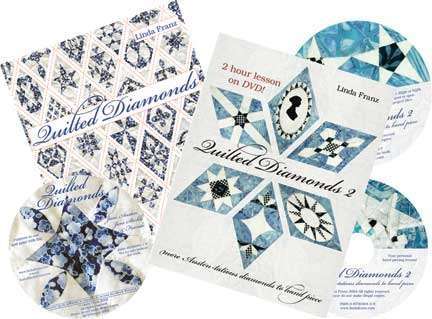
Hand piecing with freezer paper templates is described in detail in my Quilted Diamonds books. (There is also an excellent DVD lesson with Jane Austen’s Writing Table Quilts at a ridiculously low price right now.) Some quilters who would like a portable project—but don’t like all the prep—are enjoying hand piecing now because Inklingo makes it so easy to get everything ready.

Hi Cathie,
Have you tried a spray on product called 505 Spray and Fix?
This is a temporary fabric adhesive that is odorless, spotless, stainless and colorless. It does not gum up needles when sewing. It is used to baste one layer of fabric (or batting) to another. Print on one sheet, the “baste” to another non-printed fabric with 505. Smooth the two together, cut out, then sew once side. Pinless, no slip piecing. It is a wonderful product that I purchased for use in machine embroidery/quilting, but found it very useful with Inklingo Pies and Tarts.
Pam
thanks for the info on using Inklingo with dark fabrics. My biggest problem with layer and cut is to avoid the shifting that I seem to have problems with. Just have to be more careful I guess.