How to Print on Fabric with Inklingo
Do you ever worry that if you start a quilt, you might become discouraged and not finish? When you start with perfect shapes, printed with Inklingo, you will love the results so much that you will be sure to finish!
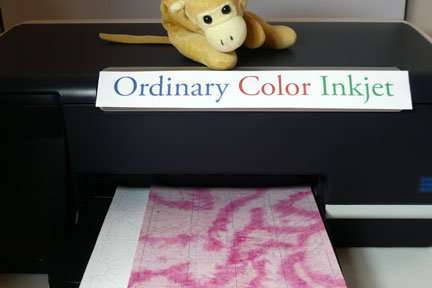
Monkey and I have some tips to get you started, so you can join tens of thousands of quilters in more than 65 countries who print shapes on fabric with their Inkjets.
Introduction to Inklingo
This short video (above) explains how Inklingo works.
“Love the ease at which the fabric is to print, followed your direction and it was a breeze.” Joan in Australia
Preparing the fabric sheets and printing. Clip from Live Video 07 March 2018
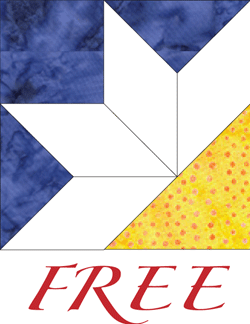
1. Get the FREE Shape Collection
If you do not already have the free Inklingo shape collection for Diamond/Triangles/Square, you can order it, download, and print on fabric with Inkjet ink you already have in the next few minutes. Main Beginner′s Page
If you have never printed on fabric before, you should start now! You need a piece of freezer paper, a scrap of fabric, and an iron. That’s all.
When you have printed on fabric once, you will see the advantages.
2. Iron Freezer Paper to Fabric
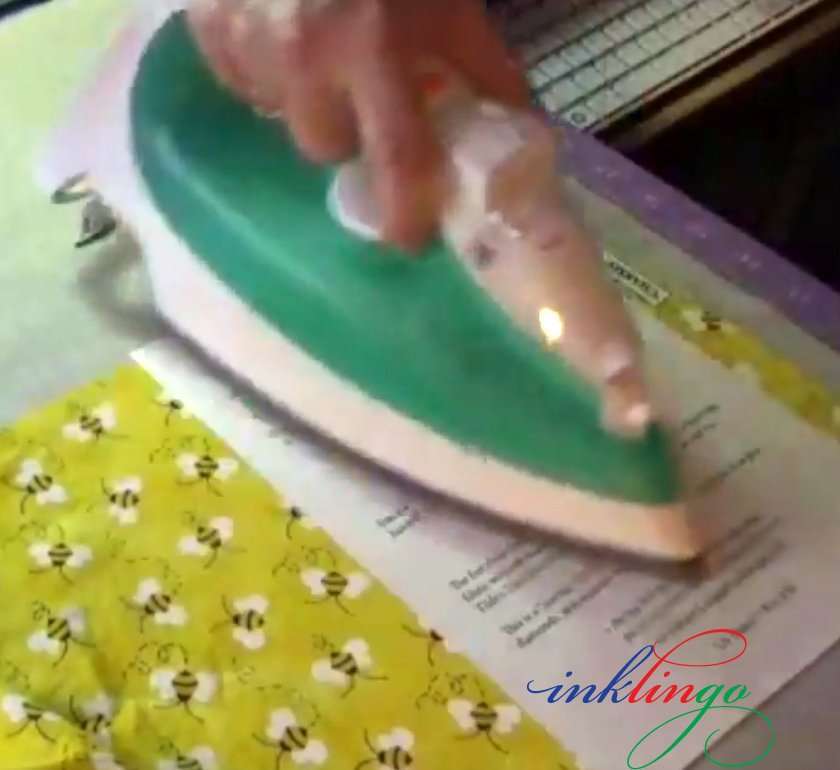
Cut freezer paper 8.5 x 11, iron it to the right side of the fabric, and trim around the freezer paper so the fabric is the same size. Use a light or medium color fabric for your first try.
Use a hot, dry iron (no steam) and press on both sides—the paper side and the fabric side, as shown in the short video clip (above).
As long as there is a firm bond between the fabric and the freezer paper, jams in the printer are rare. Always wash fabric first to remove the sizing. Otherwise, the freezer paper is not likely to stick well enough.
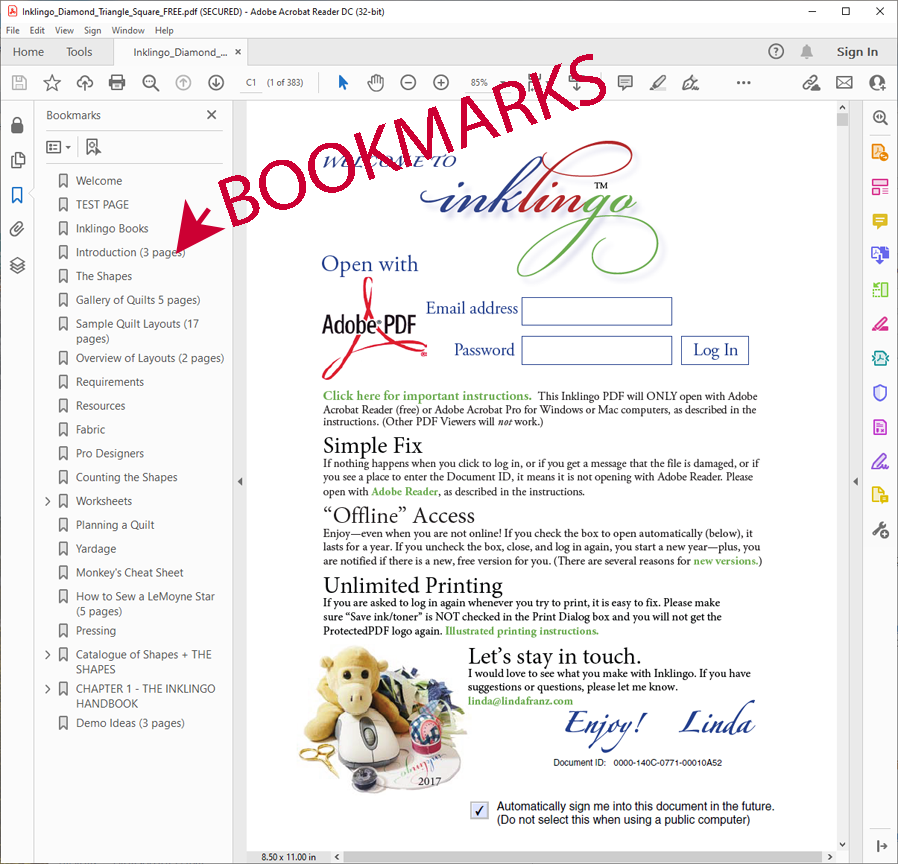
3. Open the Bookmarks
If you are opening the free PDF for the first time, please follow the download instructions.
The Bookmarks panel should open automatically in Adobe Reader, but if it does not, please open it so you can find your way around.
One way to open the Bookmarks is View > Show/Hide > Navigation Panels > Bookmarks.
You can find your way around with Bookmarks, without even knowing the page number! How cool is that?
4. Scroll down
In the BOOKMARKS, scroll down to Catalogue of Shapes + THE SHAPES.
There is a little symbol to the left of any heading in the bookmarks panel so you can open and close the sub-headings In this case > but sometimes a + or – or a tiny triangle.
Click to open the “Catalogue of Shapes” and then Combo 2 and then Diamond Triangle Square.
Please have a look at pages 70 and 71 before you continue. There are two pages like these for every Inklingo layout, so you have all the info you need. For now, you just need to glance at them but remember that you can refer to this any time.
5. Click on the page for Color 21
Click on the page for Inklingo color 21 and look at the shapes. You will see triangles (QST), squares (SQU), and diamonds (DIA) drawn with lines in a grayish/purplish color, and the icon to the left of Inklingo color 21 in the Bookmarks with be gray instead of white to indicate that you are on that page.
The Layout of Shapes is 13 x 19 to give us maximum flexibility, but we never print the whole thing. We only print part of the page to get exactly what we need on an ordinary printer (8.5 inches wide).
Inklingo color 21 should show well enough on most light or medium fabrics and wash out easily, or at least not show on the front, so we’ll use it first. You want to be on that page for the next step.

6. Click to print
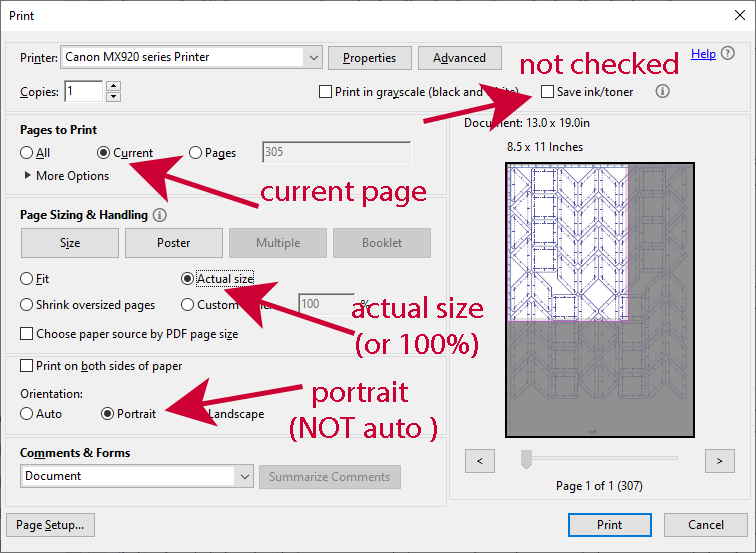
Click File > Print
Monkey and I use the shortcut, Control-P,
The settings are important.
Save ink/toner should NOT be checked.
Current Page means you are only printing the page that shows in the preview window.
Actual size might be called 100% or Page Scaling: None but they all mean the same thing.
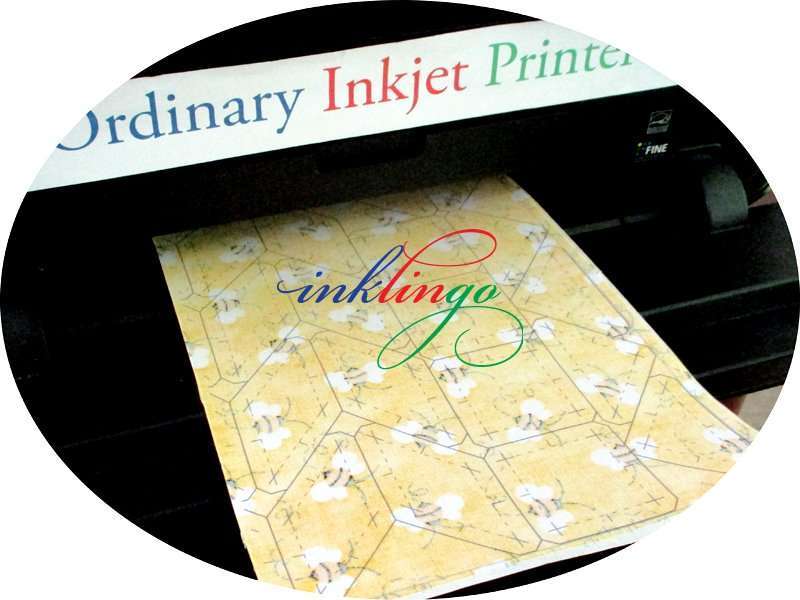

7. Admire!
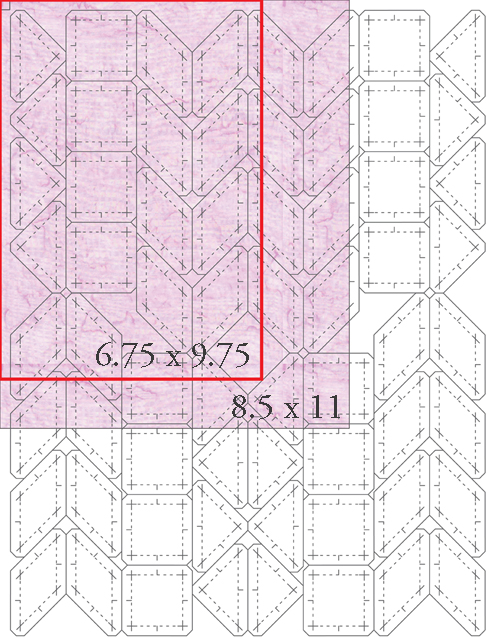
The fabric will be printed like the purple area.
Notice that if you had printed fabric 6.75 x 9.75 instead of 8.5 x 11, you would have 8 diamonds, 4 triangles, and 4 squares with no waste—and that is exactly what you need for a LeMoyne Star.
You can use this combo to print two pieces of fabric in contrasting colors to make two stars. Combos are cool.
The lines are very fine and perfect, and the advantages are clear: It is easier to cut on a line without any measuring, and it is easier to sew with a line to follow.
Love the lines. Quilt more!
When you see precise diamonds, triangles, and squares coming out of your Inkjet printer, we think you will want to print a sheet of contrasting fabric right away, so you can mix the shapes to sew two mirror image LeMoyne Star blocks for Tilde’s Tiny Totes (free pattern on the Main Beginner’s Page).
Now that you’ve printed on fabric once, you are ready for more.
- Test Pages – Be confident that the ink will not show in the finished quilt.
- Custom Page Sizes – Use fabric efficiently by entering a custom size in the print dialog box.
- Layouts of Shapes – 8.5 inch printer, but 13 x 19 inch pages!
8. Explore the Inklingo Web Site and the free shape collection.
Many quilters do not take full advantage of the cool navigation tools in Adobe Reader, but the Guided Tour explains Bookmarks and more.
If you haven’t already, review CHAPTER 1 – THE INKLINGO HANDBOOK in the Bookmarks panel of the free shape collection. There are some really great tips!
Just for Fun, you might like to take the Inklingo Quiz (or jump directly to the answers.)
HELP?
If you have questions, please ask. There is usually a simple answer and it could save you some time.



Hi Linda,
The answer maybe somewhere but I cannot seem to find it, so I thought I would ask. Why can’t we use the Laser Printers, I have read numerous articles online that they are suitable for fabric printing, I have both, so it doesn’t really matter a great deal, but I was wondering?
Thank you
Wendy
Hi Wendy,
Inklingo is not intended to work with a laser printer. A laser printer uses toner, not ink. (“Ink”lingo uses ink, not toner.) Even worse, a laser printer uses heat. If you put fabric and freezer paper into a laser printer a jam will probably ruin the printer because the plastic coating on the freezer paper will melt and create a mess that cannot be repaired.
There is information about printers in the FAQ under the Support & Goodies tab on the website.
http://www.inklingo.com/section/faq/question/45#q45
Luckily, you can probably pick up a Canon Inkjet on sale for $30 – $50 and you can have more than one printer connected to your computer at the same time. Inklingo uses a tiny amount of ink, so if Inklingo is your primary use for the Inkjet, the ink will last a long time. I hope you can get an Inkjet and get started.
Linda, just in time for my guild demo tomorrow!! Perfect! Can’t wait to try it out with them.
lindylou
Thank you for the update, Lorri! The faint yellow lines won’t be a problem unless you can see them from the front. Hooray!
Thank you Linda, this is just simple enough to get one to try, and I did, and it worked GREAT! I am so excited. Not a jam or a problem WOOHOO! This of course inspired me so much that I ordered all my material for a modified GFG. Thank you so much Linda. Its funny while I was pressing and cutting I kept thinking to myself that this is “The Inklingo Test For Dummies”!
I do have one question though. After pressing and washing I did find that all the 5’s left a faint line of yellow. Do you think this will be a problem?
Me too, I think it’s great.
Love it. Less is MORE! Thanks Linda!