Print on Scraps with Inklingo

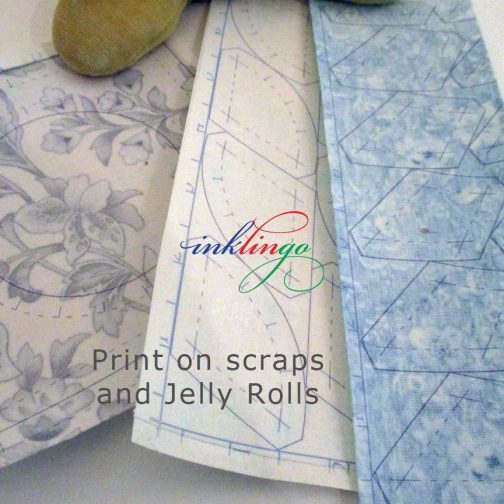
Quilters often ask whether you can print on scraps and Jelly Rolls (2.5 inch strips) with Inklingo. The answer is an emphatic YES.
The examples are for hexagons and 5-Pointed Stars.
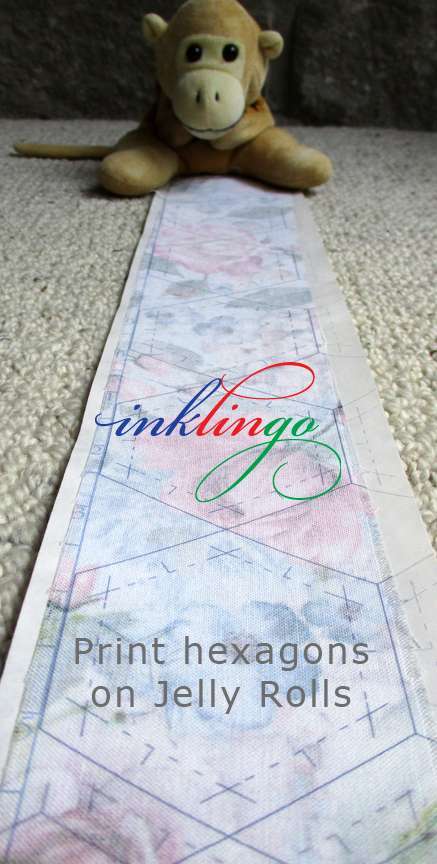
In fact, you could say that Inklingo quilters turn ALL fabric into “scraps” because we print Custom Page Sizes.
If you love buying pre-cuts or if you save every little scrap in your stash, Inklingo has great advantages for you. One of them is that each shape collection lets you see at a glance how much fabric is required, as described below.
Printing Custom Page Sizes allows us to use fabric very efficiently and to use the 8.5 inch wide printers we already have without buying special equipment.
Custom Page Sizes to Print on Scraps
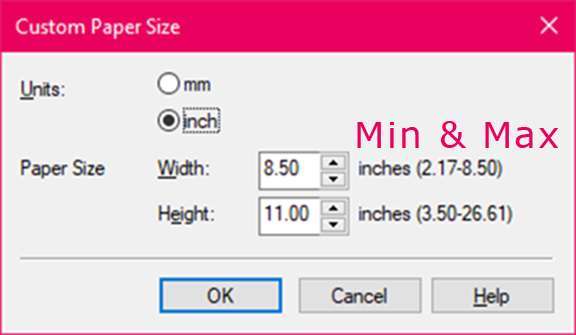
Before Inklingo, I had no reason to print Custom Page Sizes but it is simple. You just need to enter the numbers in the print dialog box (below). There is a step-by-step guide for your very first time.
Suggested Custom Page Sizes
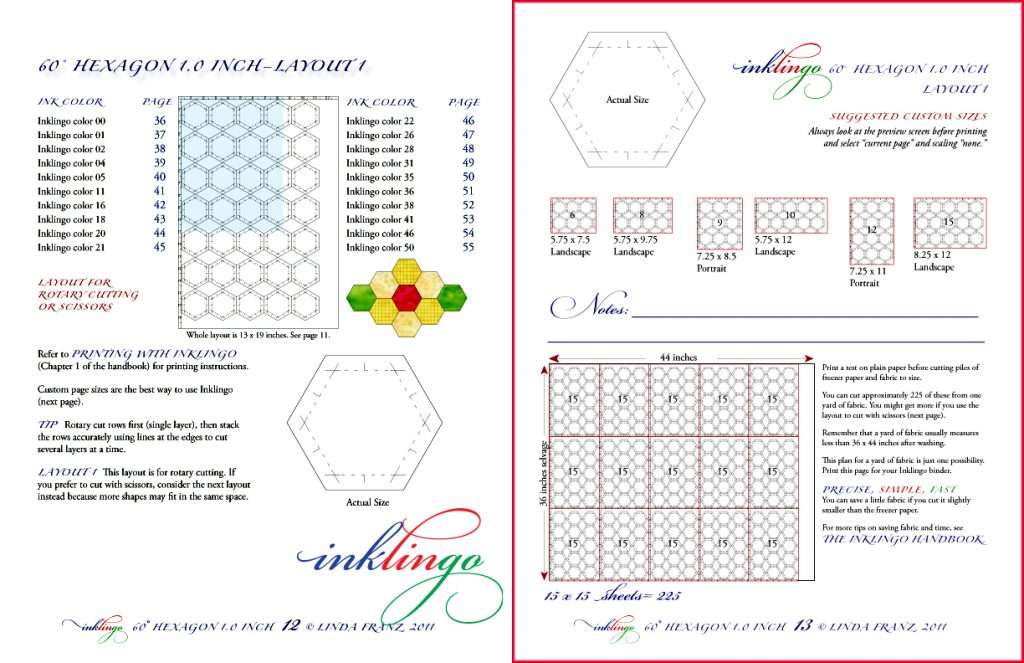
The Catalogue of Shapes in every shape collection includes 2 pages of description for every layout of shapes, as shown above.
The second page (above) illustrates Suggested Custom Page Sizes to get you started.
“Custom” Custom Page Sizes
When I create a shape collection, I include as many Custom Page Sizes as I think might be useful but in many cases, there are even more possibilities than the ones illustrated.
Good news. If you don’t see a size that suits your scraps, you can use different sizes! Print on scraps of paper to refine or create new Custom Sizes.
TIPS for designing your own Custom Page Sizes
1. Inkjet printers usually require a margin of 0.25 inch on the top (leading edge) and sides and 0.5 inches on the bottom edge, so I include that when I create the layouts and Suggested Custom Sizes.
2. Inkjet printers often have minimum and maximum settings for Custom Sizes (image above).
Your fabric might be smaller than the minimum but you can position it on a larger sheet of freezer paper. Some ink will be deposited on the plastic coating where there is no fabric but it doesn’t cause a problem and you can still use the freezer paper over and over again.
3. Long narrow strips can easily feed at an angle, especially with top-loading printers, so you might prefer to cut the freezer paper wider than the minimum to avoid jams and use fabric that is smaller.
Example: Print on scraps and jelly rolls for 1 inch Hexagons
All Inkjet printers allow you to print custom page sizes, but they usually require a minimum width of 3 inches, so in this case, even though the Jelly Roll is 2.5 inches wide, you would cut the freezer paper 3 inches wide and center the fabric so it would cover the area where the hexagons will print. (Print on a scrap first to see where to position the fabric on the freezer paper.)
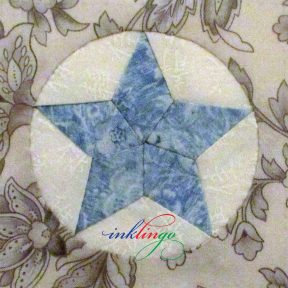
Example: Print on scraps for 5-Pointed Stars
The new 5-Pointed Star shape collection is a perfect example. It can be made with three 5 x 5 inch fabric charms—or even less.
There are more examples on Pinterest too.
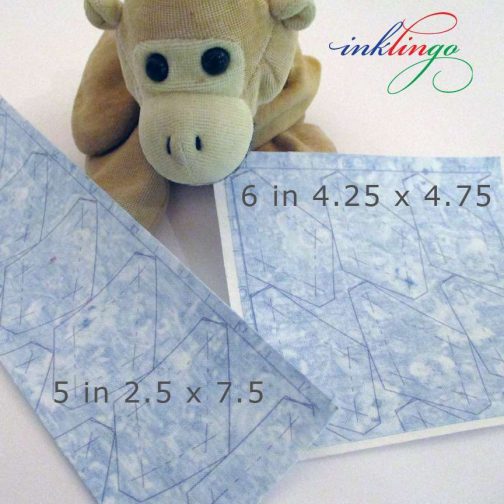
There are often choices to fit your scraps.
PREPARING FABRIC STRIPS
Instead of throwing narrow strips of fabric in the washer, I recommend rinsing them in the sink. There are good reasons for washing to remove the sizing.
- Fabric often shrinks more in one direction than the other, and uneven shrinkage can ruin the appearance of the finished quilt.
- The sizing prevents a good bond between the fabric and the freezer paper, and you are more likely to get jams if the fabric separates from the freezer paper in the printer.
- It removes dirt, pesticides, and other chemicals which are part of the manufacturing process.
- You will notice if any of the dye bleeds in a way that would ruin your quilt.
I never print fabric that has not been rinsed or washed. It only takes a minute to swish in water, blot on a towel, and lay flat to dry. Finish drying with an iron, if necessary.
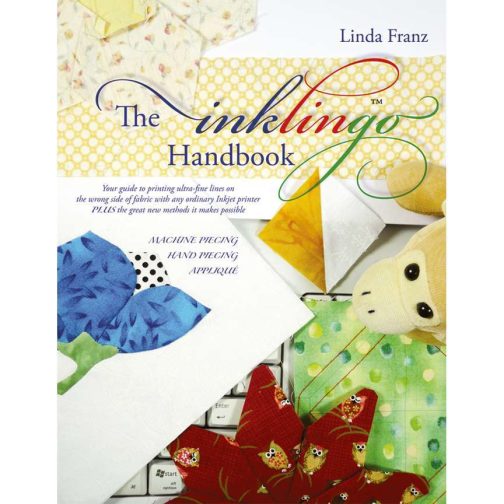
FREE CHAPTER WITH PRINTING TIPS
There are more tips for printing on scraps in Chapter 1 of The Inklingo Handbook, especially the photos on pages H44-H47.
The first chapter is included with the free Diamond Triangle Square shape collection. You will find everything you need to know about printing on fabric, including how to avoid jams.
Inklingo uses fabric more efficiently that traditional methods. For example, although most of us like to use a rotary cutter, there are also layouts for hexagons to be used with scissors, when it would save some fabric.
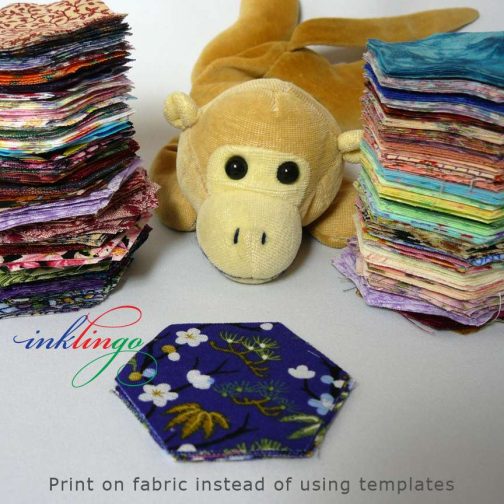
Inklingo is ideal for hexagons. It is the quilting tool we’ve always wanted because it simplifies the preparation and gives us more time to sew.




I have a lot of strips cut for my scrap quilts. My current inkjet will not allow me to enter a custom page size. I am working on La Pass and had the perfect fabric in my stash for the small hexes, but it was already cut into 2.5″ strips. I made a test sheet of 8.5 x 11 hexes on my printer, then used that beneath my freezer paper to see where I could line up each strip in order to get strips of hexes centered on my 2.5″ widths of fabric. I will post a picture on my blog later today of what it looks like. So proud of myself for working around my printer limitation.
Hi Linda, Thanks for the explanation, but how can I be sure the printer is not printing the shapes outside my paper/fabric? I read you have to center, but how can you be sure it is exactly centered enough? Do you test it first on paper and then mark where your edge of the paper has been or something like this? And how do you do this for smaller scraps? I don’t know if the shape is not printed outside my fabric or how I can prevent this. Thanks for your help!
Hi Marianna, Please see the instructions in the handbook and at this link.
http://www.inklingo.com/section/custom-page-sizes/43 It is simple.
I am sorry my spell-check keeps change Marianna to Marianne. 🙁 I will try to remember to over-ride.
Linda
I’m about to practice custom shapes now, because all I have right now is a jelly roll. Another question – can you iron several strips to a sheet of 8.5 x 11 FP and print, or do you just recommend printing one at a time?
Yep… using jelly rolls wuld be a great idea!
Hi Julie,
Please re-read the blog before you cut your fat quarters into 2.5 inch strips.
You can use your fat quarters for hexagons more efficiently if you do NOT cut them into 2.5 inch strips.
I just responded to you on the Yahoo list too.
Thank you Linda and Monkey, I’m off to cut some Fat Quarters into strips now 🙂
i realy appreciate the time you took you answer my question on here 🙂
Thank you Linda, this is a very clear explanation.
I would like to add a small tip for those who are going to try this for the first time:
When I print custom sizes, sometimes the printer prints a little outside my fabric on the shiny side of the freezer paper, which does not really absorb the ink. When you wipe these lines immediately after printing with tissue paper or a scrap of fabric, it absorbs the ink. This prevents ink from getting on your iron, your ironing board or the right side of your next piece of fabric, or the inside of your printer when you reuse the freezer paper.
Hugs,
Anneke in Rotterdam
Hi Anneke, ik kom uit Gouda en heb al verschillende printers gecheckt op custom size mogelijkheid. Maar heb er nog niet een gevonden. Welke heb jij? Ik vind het een groot nadeel dat niet te kunnen instellen. Hoor graag van je. Groet, Anja
Great tutorial Linda and Monkey 🙂 Always wondered about the laundry-ing of these strips and how to use them. Not that I have any but it’s always good to know in the event I happen upon any 😉
hugs
Ellyx
This is SOOOOOOO cool! Sandy