Fussy Print Checklist
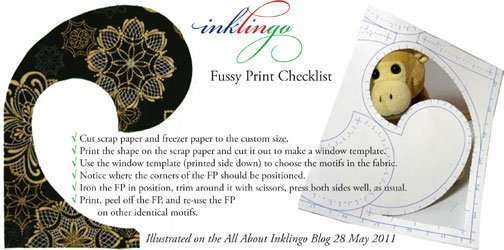
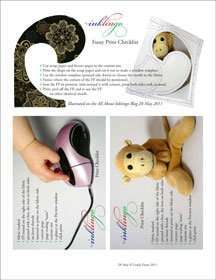
The new Inklingo Shape Collection for Yin Yang inspired Monkey to prepare a Fussy Print Checklist. (Download the PDF.)
Two of the Yin Yang shapes in the block I used yesterday (how to sew curved seams) were fussy cut/fussy printed with Inklingo.
Fussy Cutting
Fussy cutting is sometimes referred to as “fussy printing” by Inklingo quilters.
Fussy cutting requires extra fabric, and it can be difficult to know how much extra to allow. It also takes more time, but the results can be spectacular!
How to Fussy Print
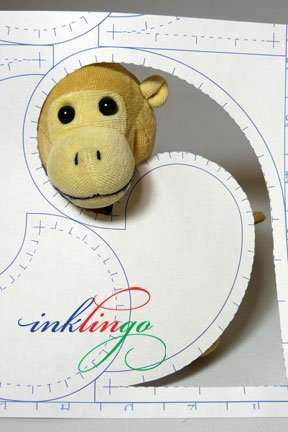
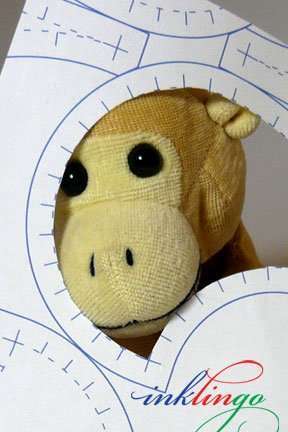
It all starts with a window template (above). Print the shape on scrap paper with Inklingo. Cut on the stitching line to create a window template. Monkey likes this kind of window.
For Yin Yang, the custom size is 5.5 x 7 inches. (Suggested Custom Page Sizes are included in every Inklingo shape collection.) Cut a piece of freezer paper (FP) the same size.
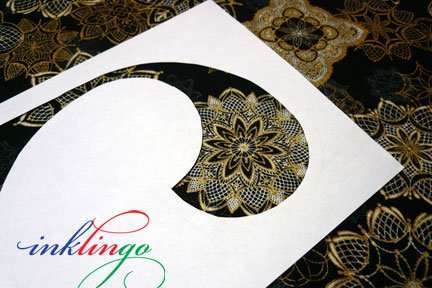
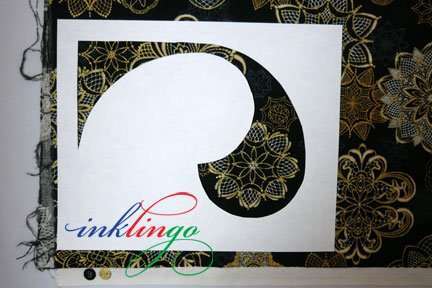
Place the window template on the fabric to select a suitable motif. Move it around until you find something you like.
Important! Since you will be printing the Inklingo shape on the wrong side of the fabric, place the window template printed side down.
In this case, I was able to find a motif near the edge (resulting in less waste) and position it so that the outside edges of the block are still on straight grain.
If you choose a position that will not result in straight grain on the outside edges, it is more difficult to sew, and you must be very careful not to stretch the block out of shape. It is always better to have straight grain on the outside edges, if possible.
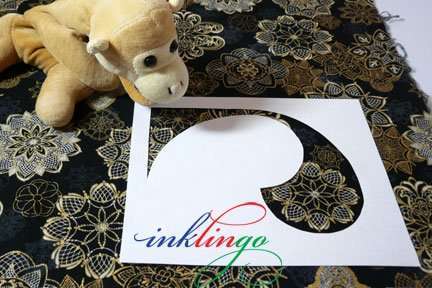
Identify other places with the same motif to ensure you have enough fabric to cut as many more identical shapes as you need.
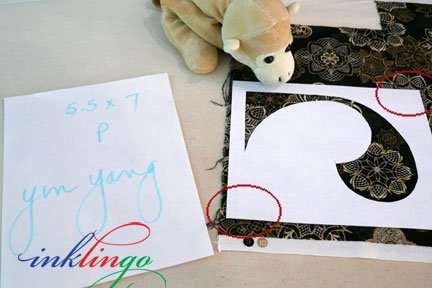
Notice the position of the window template’s corners on the design, so you can position the sheet of FP identically.
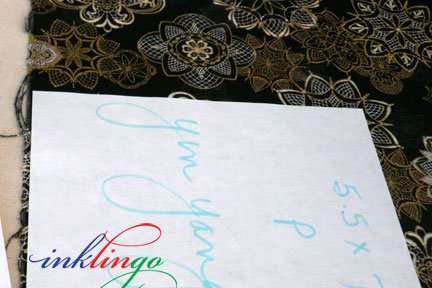
Press the FP in position, and trim around it with scissors. Press on both sides to get a firm bond (avoiding jams). Print the shape.
Important! Yin Yang is not symmetrical in either direction. It is very important to place the fabric in the printer so the shape will print on the motif, not at the other end.
Mistake! It is easy to put it in the printer with the wrong end first. I did. When I realized my mistake, I could have printed again with another color and just ignored the incorrect lines in the first color. However, I wanted to use Color 46 on this black because it showed perfectly, so I rinsed the fabric in the kitchen sink to remove the ink, ironed it dry, replaced the FP, and re-printed with the same color.
Peel the FP off and use it to print another shape.

Position it identically at the corners.
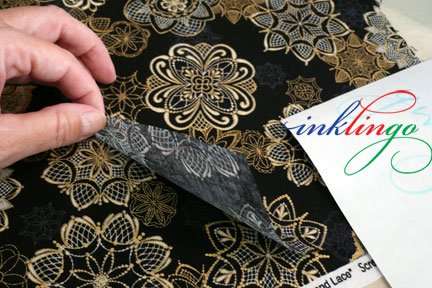
TIP: You can use the first sheet of fabric to identify the corner positions for placing the FP again, if it makes it easier.
I printed the gold fabric with two shapes at a time because I wasn’t fussy cutting. (Custom page size 6.75 x 8.5 Landscape)
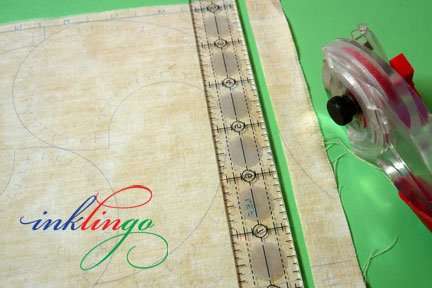
Cut the Shapes
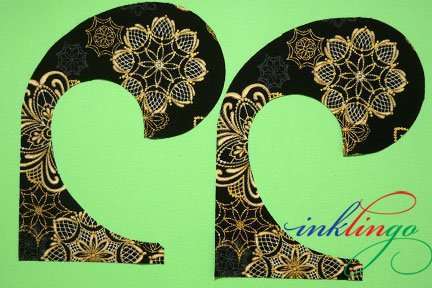
You can cut Yin Yang shapes with scissors or a rotary cutter. I start by trimming the straight edges.
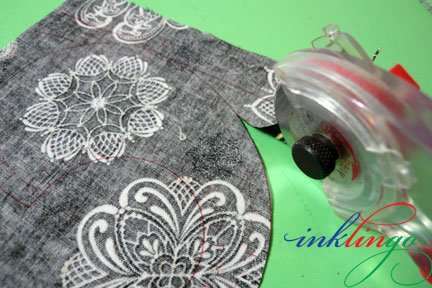
A 45 mm blade works well on these curves. It is easy to steer if you focus your eye about a half inch ahead of the blade and pull gently on the fabric with your other hand.
Voilà! I’m ready to sew! Instructions for sewing curved seams are provided in a previous blog article, along with an EQ7 project file for the Yin Yang design.
When you fussy cut shapes based on the design in the fabric, it can create wonderful effects and make a design like Yin Yang even more impressive.
Many quilters think you can’t fussy cut with Inklingo. Now you know. The Checklist might help you convince your friends to try Inklingo.
Are you ready for Yin Yang? Download the checklist now and start looking at your stash for suitable fabric!
Maybe Pie & Tarts or Winding Ways or Double Wedding Ring or… Try it, you’ll love it!
Linda & Monkey




1 thought on “Fussy Cut Fussy Print”