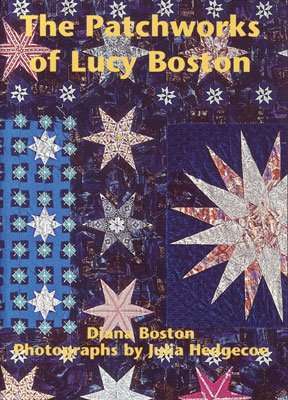
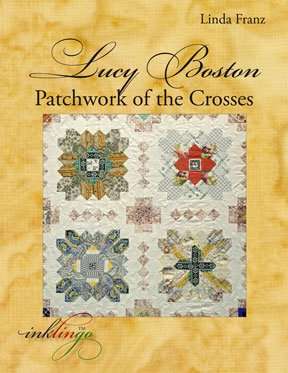
English Paper Piecing is the method that Lucy Boston used to make her Patchwork of the Crosses (POTC) and the other amazing quilts in The Patchworks of Lucy Boston by Diana Boston.
There are illustrated instructions for English Paper Piecing in my POTC book, although I expect most quilters to find it easier and faster to hand piece with a running stitch (video) or to machine piece (video).
INKLINGO AND ENGLISH PAPER PIECING
With Inklingo and English Paper Piecing, you can make wonderful designs with hexagons, diamonds, triangles, shapes with curves (Clamshell, Apple Core, Dresden Plate), and many others. (Inklingo Index of Shapes)
There is inspiration in the Smart Shopper’s Idea Book (free download).
The more you know about EPP and Inklingo, the easier it is to choose the best technique for you!
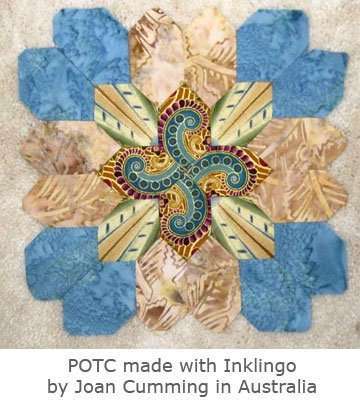
Inklingo quilters like Joan prefer to sew POTC with a running stitch by hand because it is more portable, more precise, and faster. However, Inklingo has advantages for quilters who enjoy whip-stitching and paper templates too.
In the next few Wednesday Tutes, we’ll look at some of the reasons to use Inklingo when you EPP!
- Printing your own perfect paper templates
- Using the fabric more efficiently
- A choice of basting methods
- No-waste, faster Fussy Cutting
- Design Ideas like 300 Pieced Hexagons
- Sewing instructions and worksheets in the Inklingo Design Books
- English Paper Piecing Rescue
HOW TO ENGLISH PAPER PIECE – PART 1
The tools for English Paper Piecing are simple and easy to understand—templates, fabric, needle, thread and scissors.
There are some nice optional extras that might make it more fun for you, but you don’t have to spend a fortune to get started.
Let’s start with templates!
PRINTING YOUR OWN PAPER TEMPLATES
Some quilters purchase die-cut templates for English Paper Piecing.
However, thanks to Inklingo downloads like the 90° Hexagons 1 inch for POTC:
- You have instant access to templates anywhere in the world—no waiting, no postage!
- You can save money compared to buying die cut templates.
- You can choose your own template material depending on (1) how stiff you like it to be and (2) your preferred basting and sewing method.
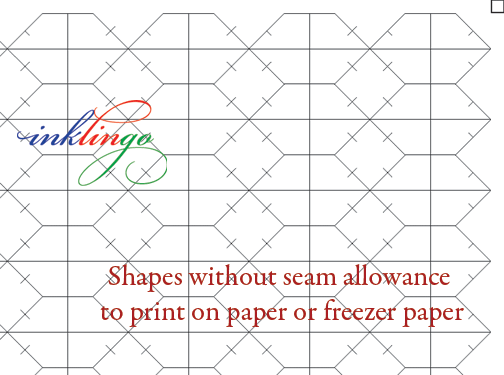
From the beginning, every Inklingo shape collection has included layouts of shapes without seam allowances. Very nice.
The layouts without seam allowances are included primarily to make templates to use if printing on a dark fabric doesn’t work well, but the templates can be used for EPP too.
WHICH TEMPLATE MATERIAL DO YOU PREFER?
When you print your own templates you have a choice of paper.
1. Card Stock
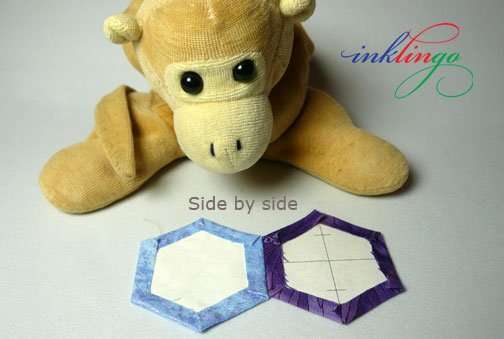
An extra-stiff template is nice if you sew with the shapes next to each other (above), not right sides together. Some quilters find holding the templates this way makes it easier to hide the stitches compared to whip-stitching over the edge. (More about that when we sew in a future tute.)
If you prefer a stiff template, you can print with Inklingo onto card stock or light cardboard.
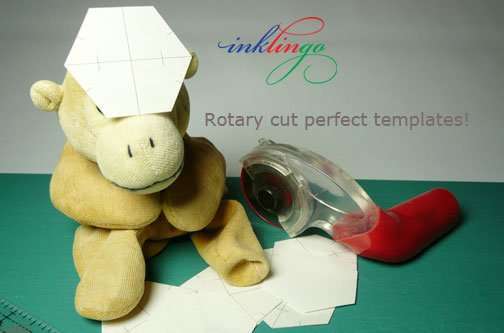
You can even cut several layers at a time:
- Print one piece of card stock.
- Layer with several other sheets of unprinted card stock.
- Staple the layers together strategically (or tack with glue), so you can accurately rotary cut several layers at a time and then remove the staples.
Please note that a stiff template cannot be folded when you are sewing insets, so it is not used for traditional whip-stitching with the shapes held right sides together. Also, you can thread-baste or glue baste to a stiff template, but you won’t want a stiff template if you baste through the template.
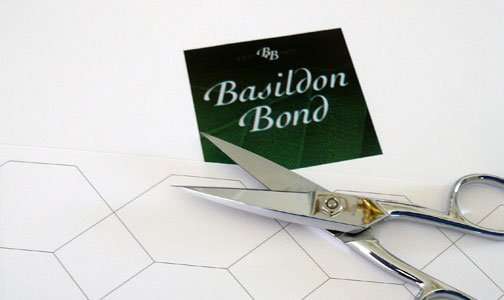
2. Basildon Bond
Lucy Boston manually traced outlines onto Basildon Bond writing paper and cut her shapes with scissors because the pre-cut shapes available in the 1950s were expensive.
She was sewing in the 1940s up to the 1980s, so she did not have the advantages of rotary cutters, home computers and printers.
Nowadays you have more choice and can spend as little or as much as you want.
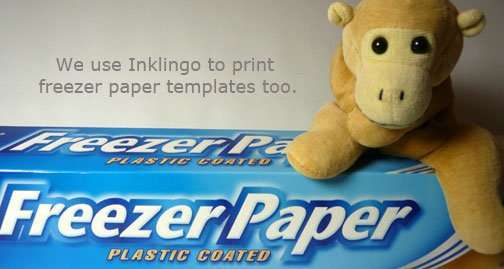
3. Freezer Paper (My Favorite)
Inklingo allows you to print templates on freezer paper instead of regular paper.
Freezer paper is my favorite template material for several reasons.
-
- No pinning—just touch it with a hot iron to attach the template to the fabric shape.
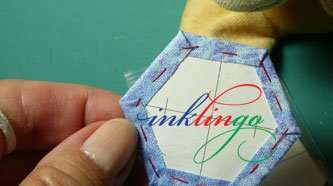
- If you prefer to baste by sewing through the template, FP is a nice weight.
- Cut at least two layers at a time. If the printed and unprinted sheets of FP are layered with the plastic coatings together, the two layers don’t slide. Easy. Accurate.
- FP can be used for thicker templates. Just print one sheet and press the plastic side to the paper side of an unprinted sheet to bond into one layer.
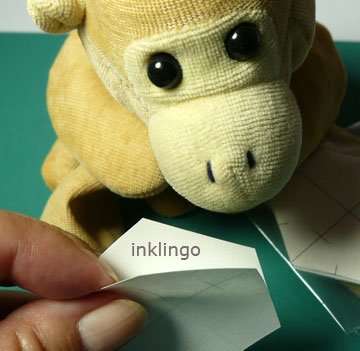
- No pinning—just touch it with a hot iron to attach the template to the fabric shape.
-
- FP can be used for double-sided plastic-coated templates. Cut two identical FP templates. Use a dab of glue stick to stick the two paper sides together. The template then has two plastic coated sides facing out. Press the fabric shape onto one side, flip it over and then “baste” with a hot iron, folding the seam allowances over all the edges.
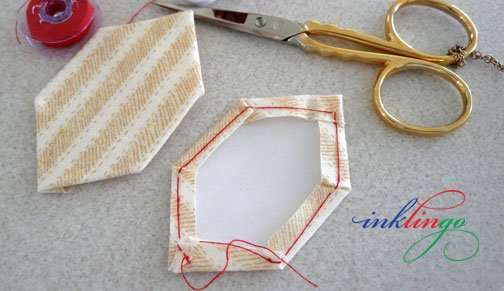
Note: If you thread-baste without sewing through the template as described in the POTC book, you will probably want a template that is thicker than one layer of FP.
Glue Basting: Freezer paper templates can be used when you baste with a glue pen. Press the plastic side to the wrong side of the fabric and baste the seam allowances by running a fine line of glue along each side. Use a small amount of glue and keep it away from the edge of the template, so you don’t have to drag your needle and thread through glue. More in a future tute!
A faster alternative?
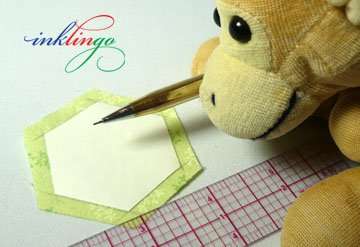
If you find the basting and sewing of EPP too slow but still want a portable project, you can press an FP template to the fabric shape (future tutorial) and add the seam lines and crosshairs with a mechanical pencil and ruler (above). This is the method I taught in my Quilted Diamonds books.
Drawing the seam lines with a mechanical pencil is faster than basting PLUS it allows you to sew with a running stitch instead of whip-stitching, so it is faster, has better pressing options than pressing the seams open, and makes precise intersections easier.
TEMPLATES ARE NAMED WITH THE FINISHED SIZE
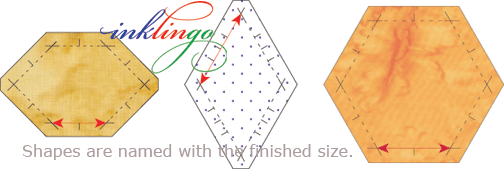
When you are preparing templates for English Paper Piecing, it is important to remember that hexagons, diamonds and triangles are named by the length of a finished side.
That is how all Inklingo shapes are named anyway, so it is easy. (There are a few obvious exceptions like Apple Core and Clamshell.)
SEW ON THE GO!
The biggest advantage of English Paper Piecing is portability.
When my portable sewing kit is loaded and ready to go, I know I can be happy anywhere.
It is especially nice to enjoy the fresh air on the front porch for a few moments of relaxation in a busy day.
MORE WEDNESDAY TUTES
You can catch up on our other Wednesday Tutes now too:
- EIGHT Wednesday Tutes for Pieced Hexagons
- FIVE Wednesday Tutes for Double Wedding Ring
- ONE Wednesday Tute for Kaleidoscope Stars
Monkey and I would love it if you like the Inklingo FB page. Thank you!
ARE YOU SUBSCRIBED?
I hope you will subscribe to the blog (top of right side-bar), so you don’t miss more tips for how to English Paper Piece and how Inklingo makes English Paper Piecing easier in our next Wednesday Tutes!
Thanks for visiting. See you again soon!
Linda & Monkey
New to Inklingo? Order and download free shapes and start sewing in the next few minutes. Quick Start (Always FREE.) There are triangles, diamonds, and squares in the free collection—great for dozens of different blocks.
$10 Coupon! 7 Year Anniversary Special on the handbook


I’ve been piecing almost the way that Debbie does — using templates printed on freezer paper, ironing them to the back side of the fabric, and stitching along the edge of the paper instead of a marked sewing line.
I use running stitch (stronger than the appliqué stitch), and ironing freezer paper is even faster than tracing sewing lines.
I’m using classic Inklingo whenever I can, but for a pattern that Inklingo doesn’t have yet, or a dark-backed fabric, this is fast, portable, and almost (not quite, but almost) as easy.
I agree, Sonia. Whenever the shapes are not available from Inklingo, I use freezer paper templates. Thank you for commenting.
I am so pleased to see EPP in your tutorial series! It is my preferred method for sewing shapes like hexagons and diamonds, and I love the convenience of being able to print my own templates with Inkliingo. I find freezer paper and copy paper a little flimsy for my liking, so I use a thin card stock (labelled 65-lb). Even though it is stiff, I have no problem basting through the template, whipstitching with right sides together, and folding templates for y-seams. I actually want my stitches to show a bit on the right side. I think it is part of the charm of EPP quilts.
I also sometimes prepare paper templates using the layouts with seam allowances. It is a bit more wasteful of card stock, but it gives me twice as many sizes to choose from, as I can cut along the cutting line or the stitching line to make a template. Inklingo is so versatile, I think every EPP’er should try it.
Since I can’t get to any of my Yahoo groups to comment, I just want to add what a fabulous block Joan made for the POTC! The EPP option is so nice in Inklingo, makes it so easy to fussy cut.
Linda and Monkey, thank you for this. About a dozen years ago, I attempted Lucy Boston’s POTC using EPP and gave up after about block 7. I have now finished all 56 blocks using Inklingo (the old EPP blocks were not inspired enough and are still lying around) and am now working on the connectors, also using Inklingo (hybrid piecing). Inklingo has been so transformative, I think I would find it hard to go back to EPP. Hooray for all your extraordinary work!
Thanks for the photo Linda 🙂 I REALLY must get to finish my POTC quilt – I felt guilty when I saw the photo. It is actully half pieced.. I am bad, and must get on with it..Love your tutorials.. I am mind planning a DWR quilt for my GS who is getting married next year!
Great tutorial. I am currently without a printer that will behave with fabric, so EPP is it for me. I had not thought about using freezer paper and iron basting. What a fabulous idea. I will have to try it. Thanks!
I’m so glad to see you addressing the ways Inklingo can be so useful for EPP. After trying both, I’ve learned that I much prefer EPP for my portable sewing, rather than hand sewing with a running stitch.
I just wanted to add that I have had success using freezer paper and ironing it to the back side of the fabric to prep the EPP shapes. Because the freezer paper adheres so well to the fabric, I have found that there isn’t a need for basting or gluing the seam allowance. Simply fold over the fabric to the back sides on each piece, put them right sides together and use a Clover clip (paperclip or small binder clip also work) and start stitching.
I’d be interested for others to give this a try and see if it works well for them too.