Index of Shapes – Appliqué
The Index of Inklingo shapes includes appliqué designs to print on fabric with your ordinary Inkjet printer.
There is a chapter on appliqué in The Inklingo Handbook which explains the advantages of printing appliqué designs on fabric with your Inkjet printer compared to other marking methods.
If you are a designer and have appliqué designs that you would like to make available in Inklingo format, please contact me.
Please download the FREE Applique Printing Instructions and scroll down to see a summary of the back-basting technique.
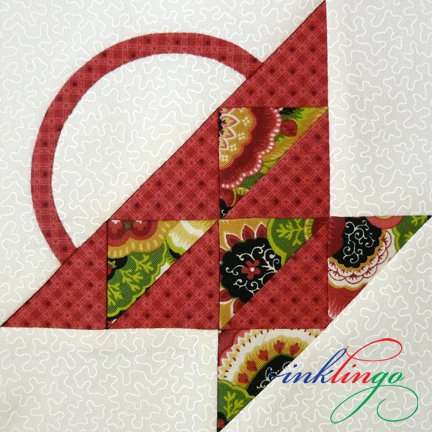

Some shape collections for pieced designs include bonus shapes with appliqué.
0.77 inch Castle Wall 4.5 inch
1.03 inch Castle Wall 6 inch
1.03 inch Judy Martin’s Waltzing Matilda 6 inch
1.55 inch Castle Wall 9 inch
1.55 inch Judy Martin’s Waltzing Matilda 9 inch
2.06 inch Judy Martin’s Waltzing Matilda 12 inch
3 inch Heart Design On-Point Setting 3 inch
4.5 inch Heart Design On-Point Setting 4.5 inch
5 inch Flower Design On-Point Setting 5 inch
6 inch Flower Design On-Point Setting 6 inch
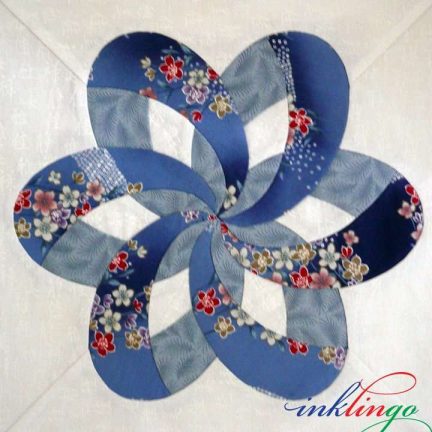
Inklingo for Appliqué
Inklingo is wonderful for all appliqué methods. Applique techniques are described and illustrated in detail in Chapter 3 of The Inklingo Handbook.
Inklingo makes appliqué easier, more precise and faster by eliminating all the tracing and special marking. Spend your time stitching, not tracing or positioning patches!
We print on the wrong side of fabric with Inklingo for piecing, but for appliqué, we can print patch outlines on the right side of the fabric OR print on the wrong side for perfect positioning—in 20 different colors—or on freezer paper.
Inklingo has advantages with all appliqué methods, whether we print
• on the right side of the fabric
• on the wrong side of the fabric, or
• on freezer paper.
FREEZER PAPER TEMPLATES Print on freezer paper with Inklingo to eliminate the tracing.
TRADITIONAL NEEDLETURN Print the patches on the right side of the patch fabric with Inklingo. No tracing! No special markers! 20 colors! You can also print on the right side of the background fabric for positioning, if you use an Inklingo ink color that washes out or won’t show.
REVERSE (INLAID) APPLIQUÉ Print the outlines on the right side of the top fabric with Inklingo. No tracing! No special markers! 20 colors!
MACHINE APPLIQUÉ Print on freezer paper or on fabric to eliminate tracing and achieve perfect positioning.
BACK-BASTING Print on the wrong side of the fabric to eliminate tracing and achieve perfect positioning.
NEW Back-basting tutorial on QuiltiingHub
Appliqué has never been easier to prepare. Back-basting is my first choice.
Back-basting Appliqué with Inklingo
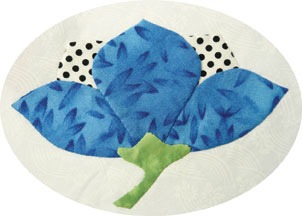
OVERVIEW Basting with a big needle and thick thread leaves a line of small, temporary holes. The holes are a visual guide and “perforate” the edge so it is easier to fold over for perfect results.
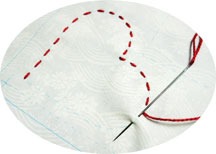
1. PRINT the outline of the patches on the wrong side of the background fabric with Inklingo. No tracing!
2. POSITION a rough-cut patch on the front side of the background. No templates!
3. Working from the back, BASTE the patch to the background along the outline, using a big needle and thick thread. (The basting can be done by machine, if you prefer.)
4. Working from the front, TRIM the patch fabric, leaving a narrow turn-under allowance.
5. NEEDLETURN the patch, removing the basting stitches as required. Remove just enough basting to allow you to turn under a small section at a time.
ADVANTAGES
• Faster preparation for a portable project
• Perfect positioning with no shifting
• Flat, perfect results
• Colors of ink show on most dark backgrounds too
• Suitable for complex layered designs, especially when clues for stitching order are printed on the fabric
All these benefits are achieved with Inklingo with
• no tracing, no light box, no overlays
• no special marking pencils
• no templates
• no pins to catch your thread, no starch, no glue
There are 15 pages of detailed, illustrated instructions in THE INKLINGO HANDBOOK.

