2026 The new Inklingo Quilt Studio
Please follow the printing instructions in the Guided Tour (free). Printing on fabric is simpler than ever!
- The Inklingo Quilt Studio is free to download. We don’t use Adobe Reader anymore.
- Your shapes and books appear automatically when you open the Studio and sign in!
- You no longer need to cut freezer paper to a custom size.
Most common reaction: “I wish I had tried this sooner.”
How to Print on Fabric with Inklingo
When you start with perfect shapes, printed with Inklingo, you will love the results so much that you will be sure to finish!
For complete printing instructions, please see the free Guided Tour.
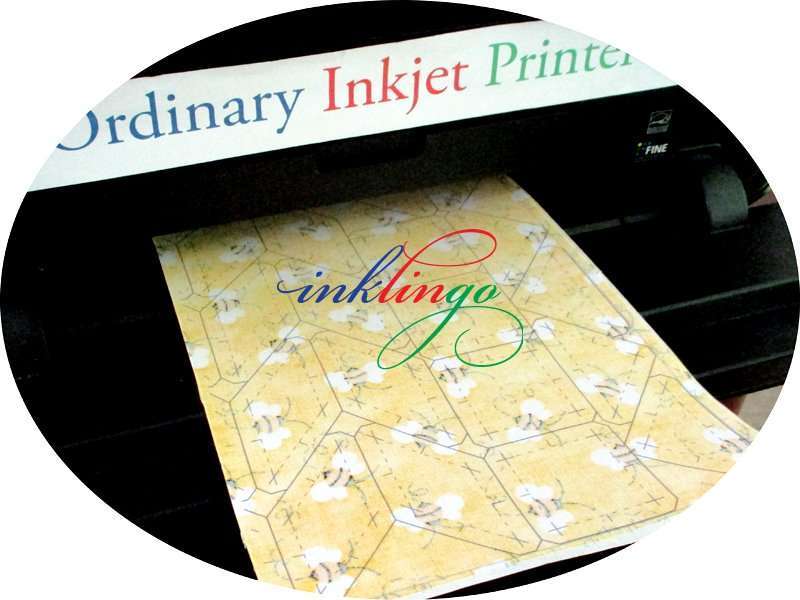
On this page, Monkey and I entice you with only a few illustrations, so you will wanat to join tens of thousands of quilters in more than 65 countries who print shapes on fabric with their Inkjets.
Introduction to Inklingo
Inklingo Quilt Studio makes this easier! You only cut the fabric to the custom page size now—not the freezer paper. This video shows the previous method with Adobe Reader and an old version of the website but the other info is still relevant. See the Guided Tour for current instructions.
This short video (above) explains how Inklingo works.
“Love the ease at which the fabric is to print, followed your direction and it was a breeze.” Joan in Australia
Preparing the fabric sheets and printing.
This clip from Live Video 07 in 2018, is still useful but printing is even easier with the Inklingo Quilt Studio.
What’s different in 2026? Now we cut the fabric to the Custom Size and iron it to Letter or Legal Size Freezer Paper. We don’t cut the freezer paper to the custom size anymore!
Please see the free Guided Tour!
1. Get the FREE Shape Collection
If you do not already have the free Inklingo shape collection for Diamond/Triangles/Square, you can order it and the Guided Tour and print shapes on fabric with Inkjet ink you already have in the next few minutes.
If you have never printed on fabric before, you should start now! You need a piece of freezer paper, a scrap of fabric, and an iron. That’s all.
When you have printed on fabric once, you will see the advantages.
2. Iron Freezer Paper to Fabric
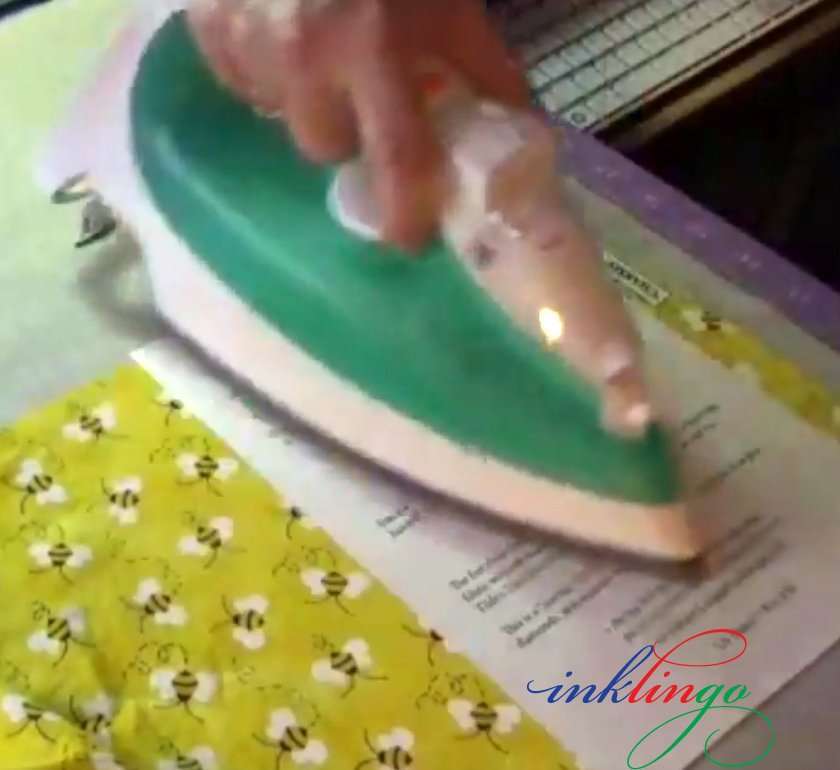
Cut freezer paper 8.5 x 11, iron it to the right side of the fabric, and trim around the freezer paper so the fabric is the same size. Use a light or medium color fabric for your first try.
Use a hot, dry iron (no steam) and press on both sides—the paper side and the fabric side, as shown in the short video clip (above).
As long as there is a firm bond between the fabric and the freezer paper, jams in the printer are rare. Always wash fabric first to remove the sizing. Otherwise, the freezer paper is not likely to stick well enough.
3. Open the Studio
Please follow the download instructions and to install and open the Inklingo Quilt Studio.
Your shape collections will automatically appear in your library.
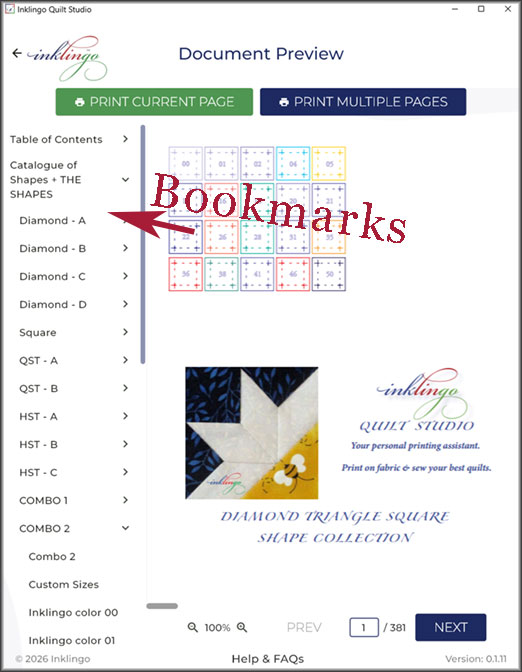
You can find your way around with Bookmarks, without even knowing the page number! How cool is that?
4. Scroll down
In the BOOKMARKS, scroll down to Catalogue of Shapes + THE SHAPES.
There is a little symbol to the right of any heading in the bookmarks panel so you can open and close the sub-headings.
Click to open the “Catalogue of Shapes” and then Combo 2.
Please have a look at pages 70 and 71 before you continue. There are two pages like these for every Inklingo layout, so you have all the info you need. For now, you just need to glance at them, but remember that you can refer to this any time.
5. Click on the page for Color 21
Click on the page for Inklingo color 21 and look at the shapes. You will see triangles (QST), squares (SQU), and diamonds (DIA) drawn with lines in a grayish/purplish color.
6. Click to print
Click > Print Current Page.
Current Page means you are only printing the page that shows in the Print Preview (below).
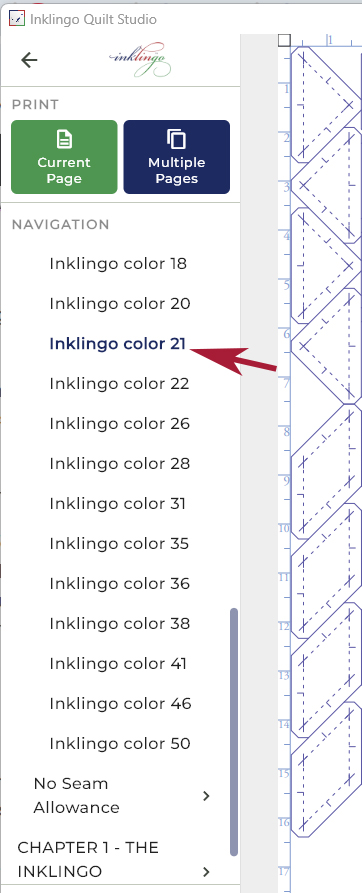
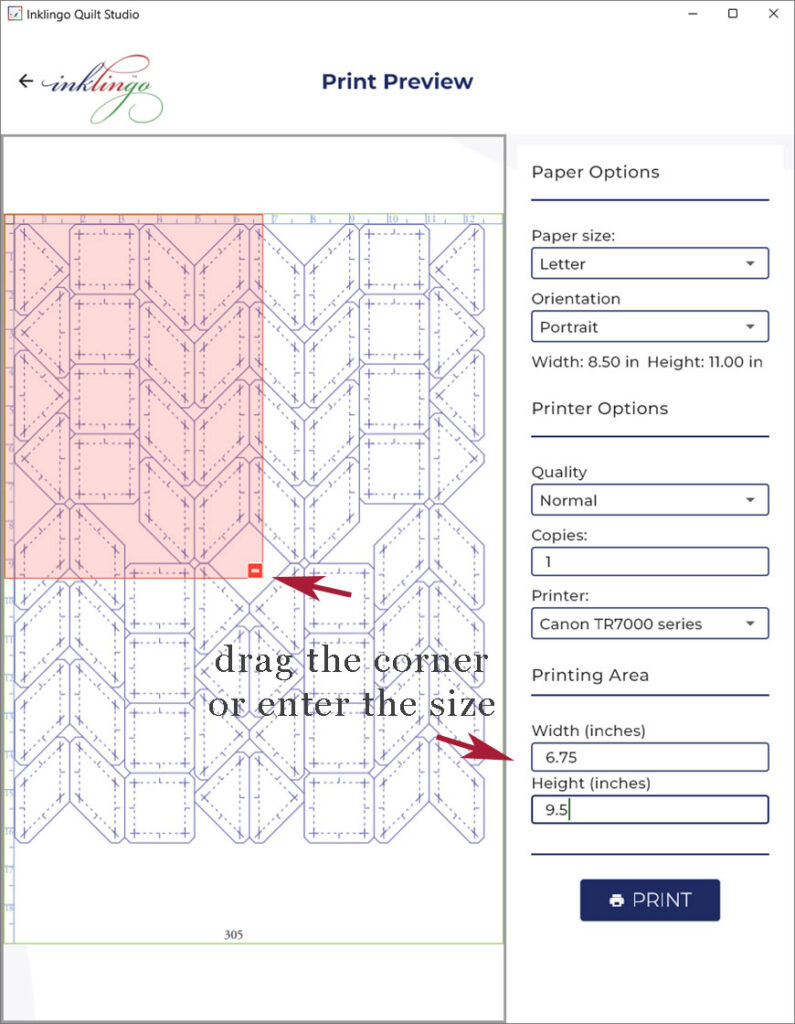
You can drag the corner of the pink box to select exactly what you want to print!
The Layout of Shapes is 13 x 19 to give us maximum flexibility, but we never print the whole thing. We only print part of the page to get exactly what we need on an ordinary printer (8.5 inches wide).
Inklingo color 21 should show well enough on most light or medium fabrics and wash out easily, or at least not show on the front, so we’ll use it first. You want to be on that page for the next step.
7. Admire!
The fabric will be printed like the pink area.
Notice that by printing fabric 6.75 x 9.75 instead of 8.5 x 11, you have 8 diamonds, 4 triangles, and 4 squares with no waste—and that is exactly what you need for a LeMoyne Star.
You can use this combo to print two pieces of fabric in contrasting colors to make two stars. Combos are cool.
The lines are very fine and perfect, and the advantages are clear: It is easier to cut on a line without any measuring, and it is easier to sew with a line to follow.
Love the lines. Quilt more!
When you see precise diamonds, triangles, and squares coming out of your Inkjet printer, we think you will want to print a sheet of contrasting fabric right away, so you can mix the shapes to sew two mirror-image LeMoyne Star blocks for Tilde’s Tiny Totes.
Now that you’ve printed on fabric once, you are ready for more.
- Test Pages – Be confident that the ink will not show in the finished quilt.
- Custom Page Sizes – Use fabric efficiently by selecting a custom size in the print dialog box.
- Layouts of Shapes – 8.5 inch printer, but 13 x 19 inch pages!
8. Explore the Inklingo Web Site and the free shape collection.
The Guided Tour includes the info above — and more.
If you haven’t already, review CHAPTER 1 – THE INKLINGO HANDBOOK in the Bookmarks panel of the free shape collection. There are some really great tips!
Just for Fun, you might like to take the Inklingo Quiz (or jump directly to the answers.)
HELP?
If you have questions, please ask. There is usually a simple answer, and it could save you some time.
[email protected]